Instructions to use Stratasys uPrint 3d Printer - BHS Robotics Club
REMEMBER TO READ EVERY STEP OF THE INSTRUCTIONS! THEY'RE IMPORTANT!!!
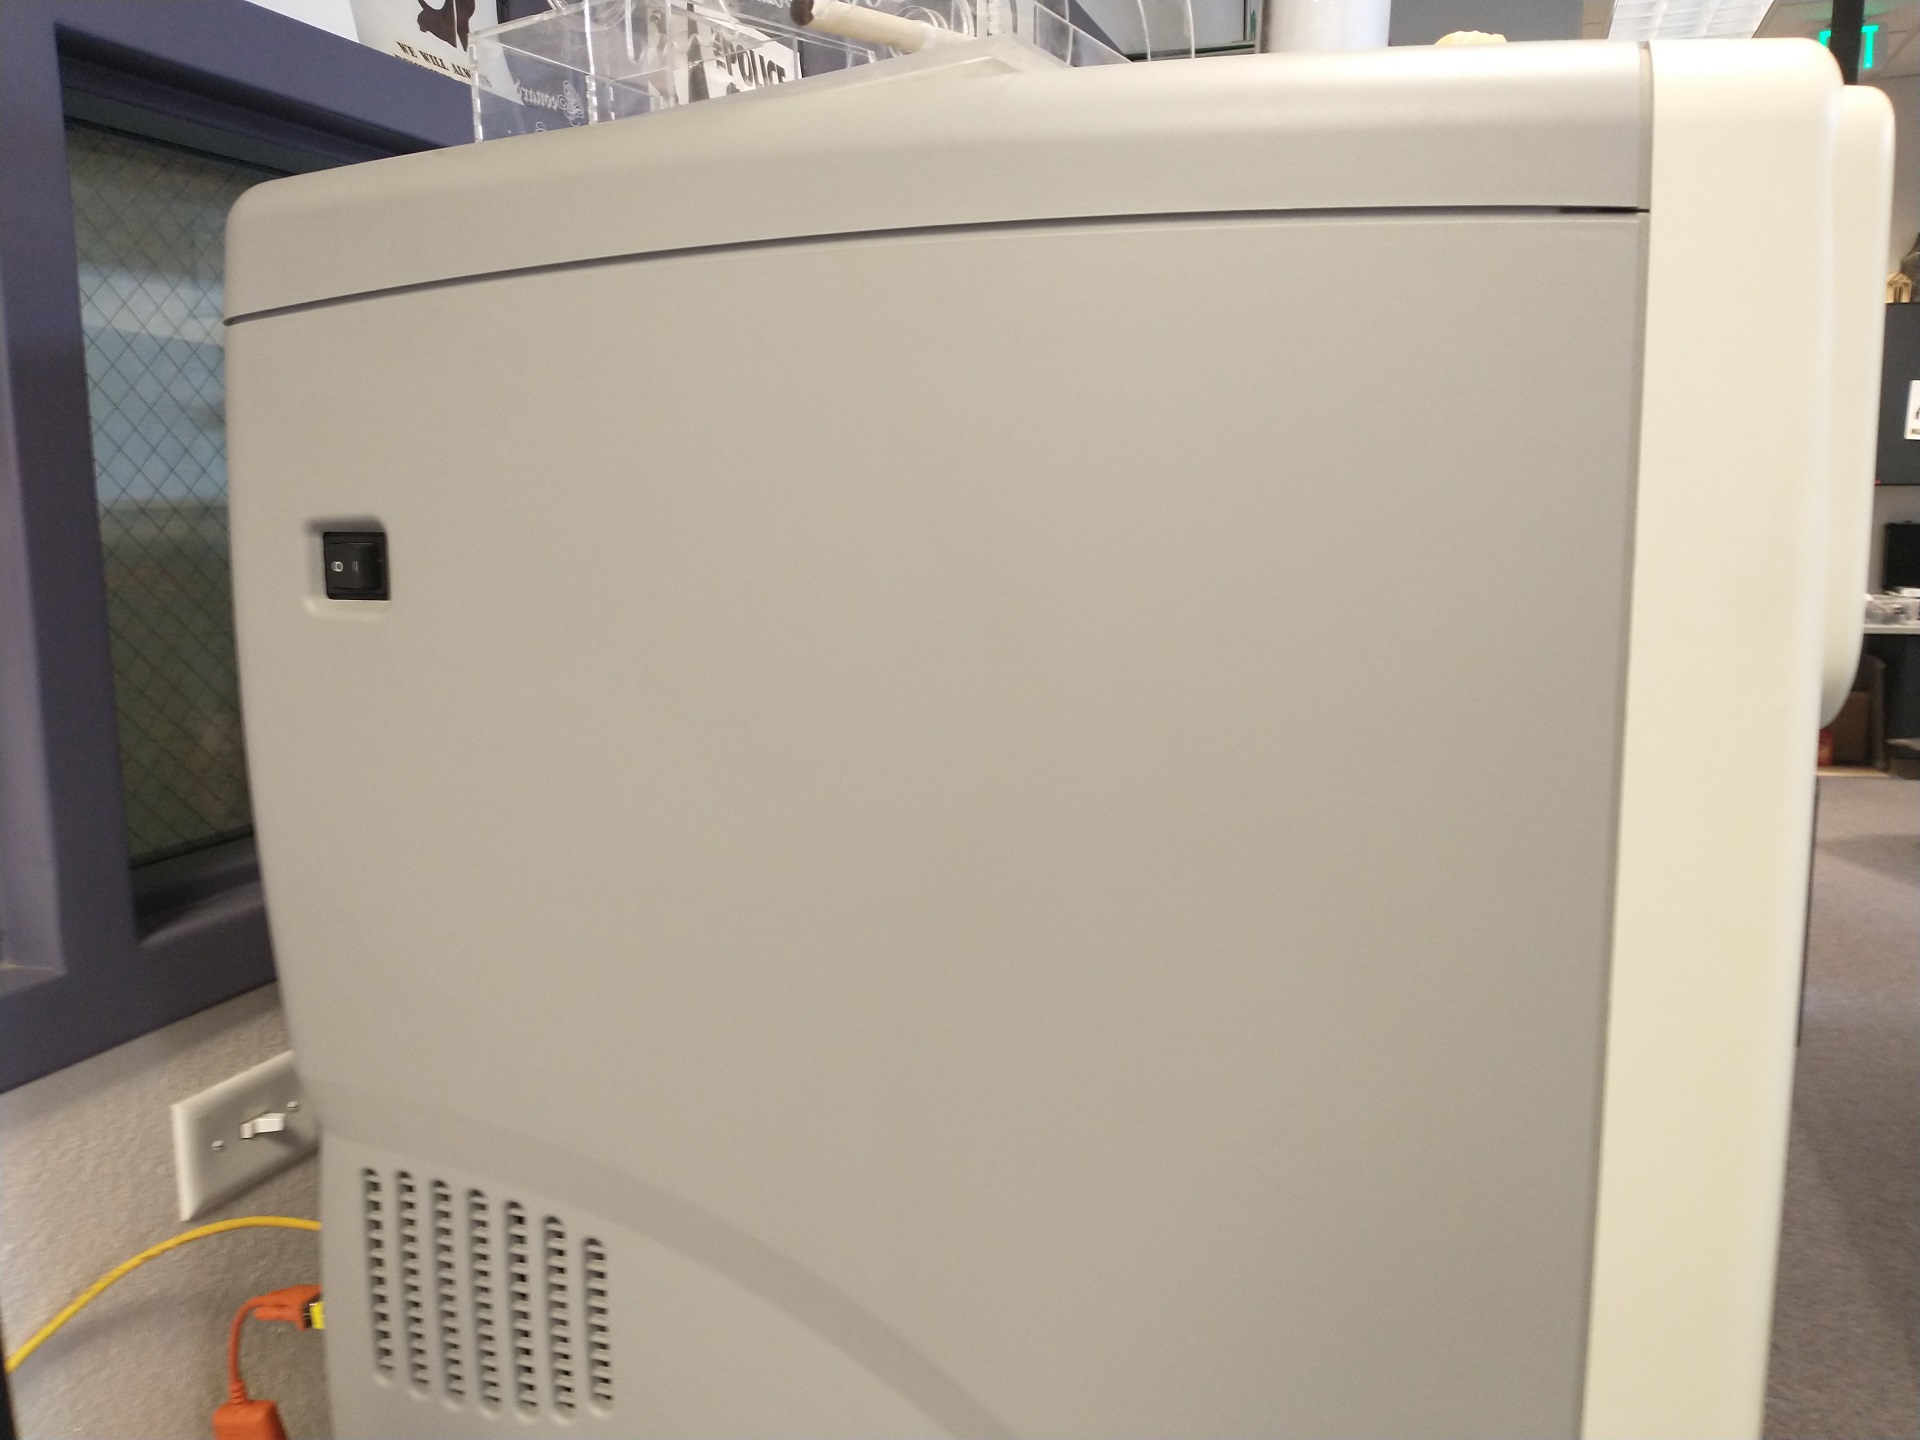
- Power on printer - it takes a long time to warm up
- Get part(s) as .stl file(s)
- Open Insight (this icon:
 )
)
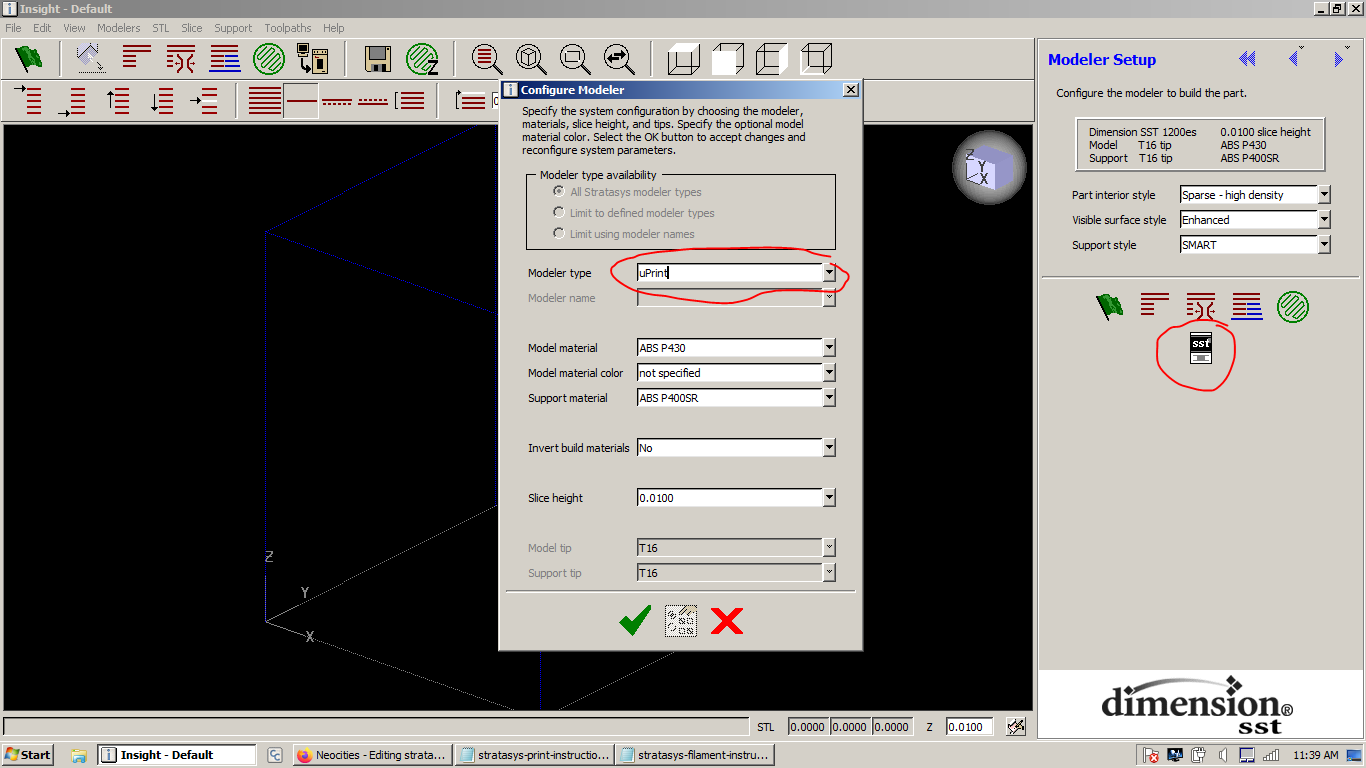
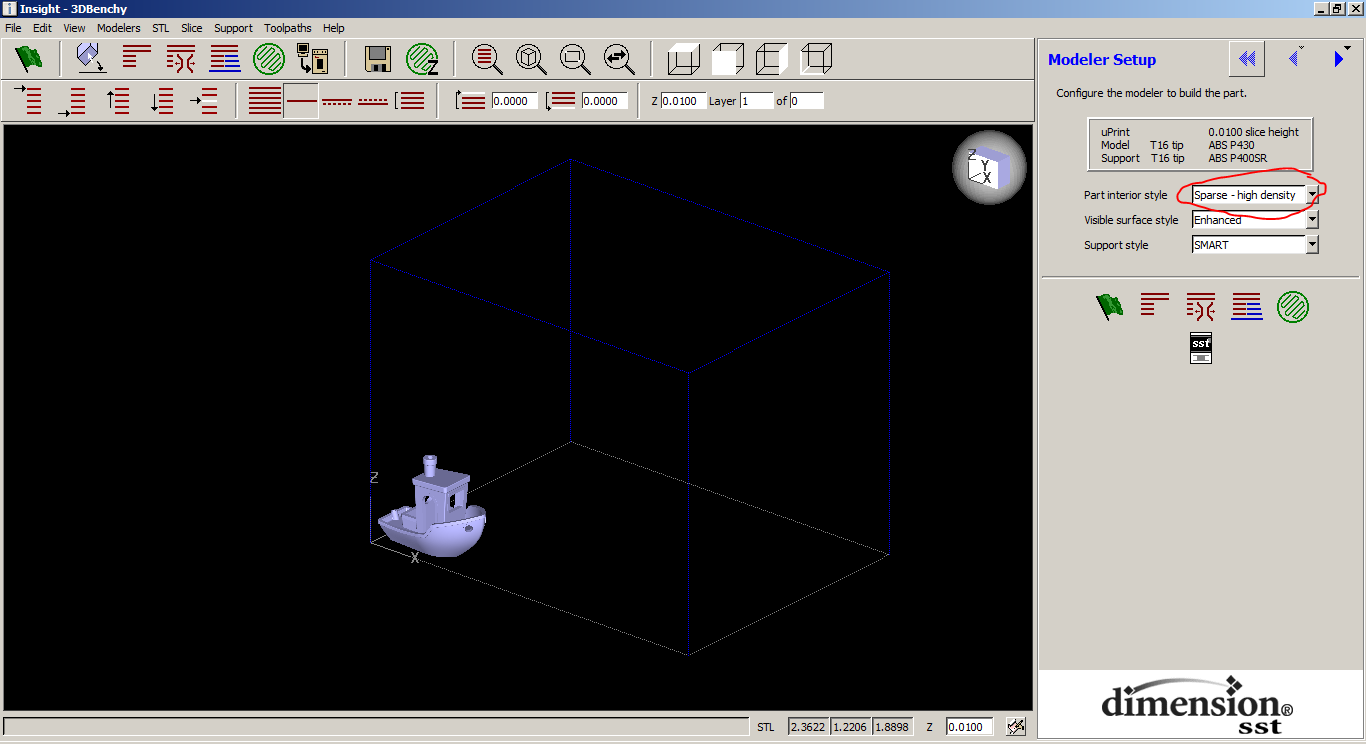
- Ensure modeler in Insight is set to uPrint (right hand side of screen, group of 5 buttons, middle-bottom > modeler type: uPrint)
- Load .stl file into insight (file > open)
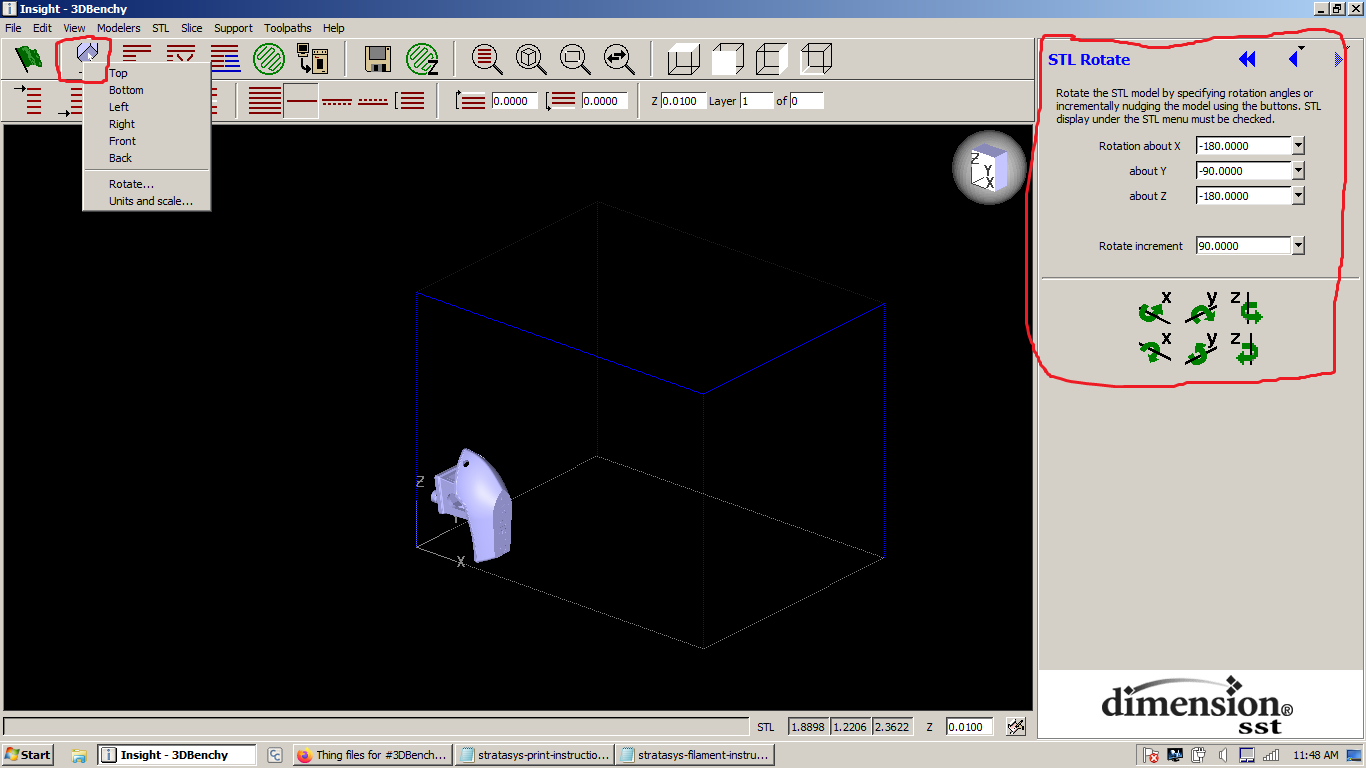
- Adjust part rotation (button next to green flag > rotation)
- Select infill under "part interior style" on right hand side of screen. Solid, dense, or sparse.
- (Optional; know what you're doing before you use these) adjust additional settings. Use "support" menu, "toolpaths" menu, etc.
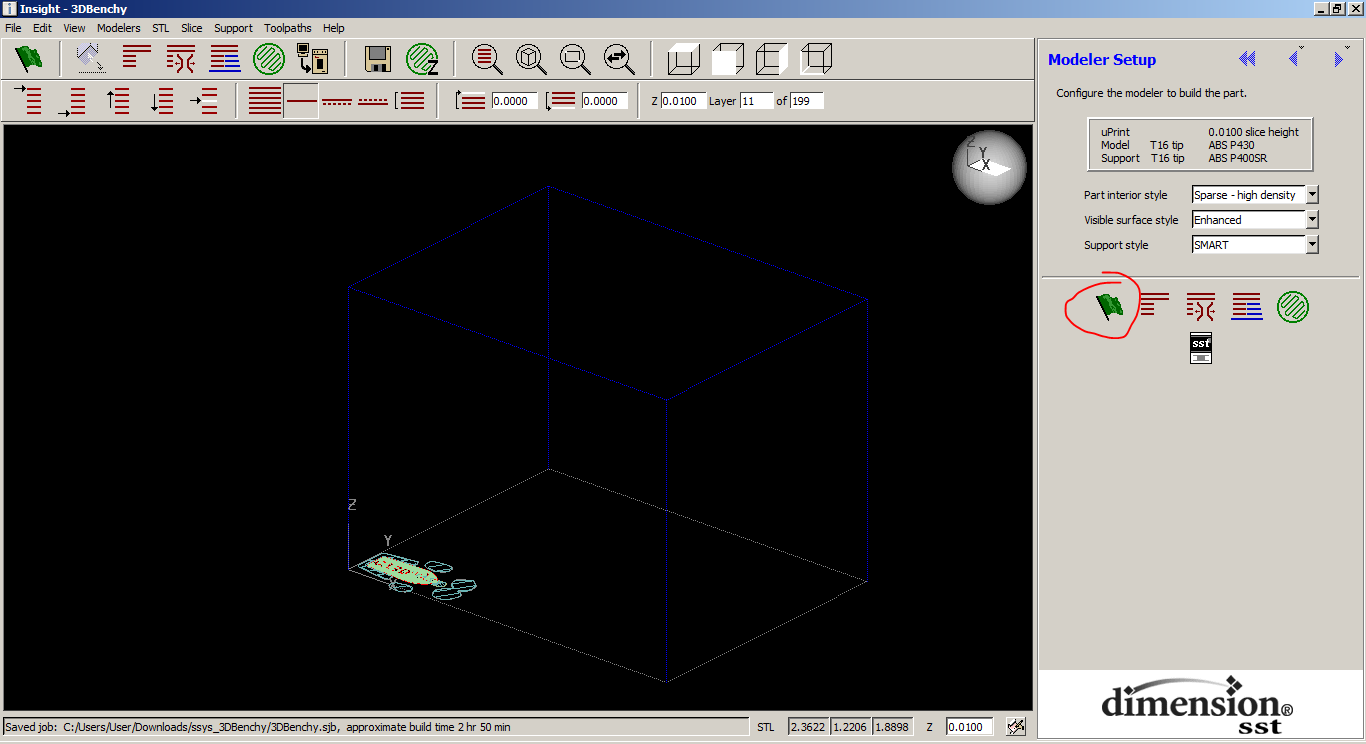
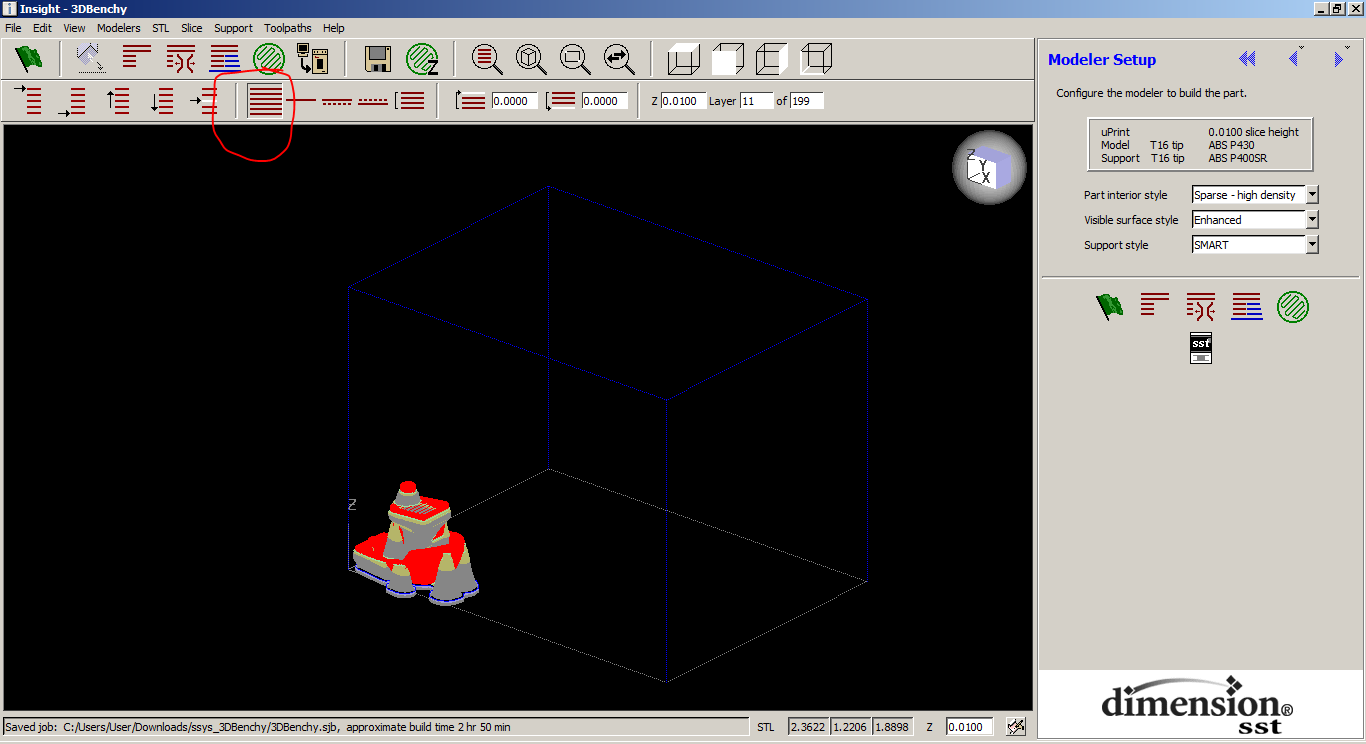
- Complete all slice steps with green flag button. Program should now show bottom layer of part. Click stacked red lines icon to show full part.
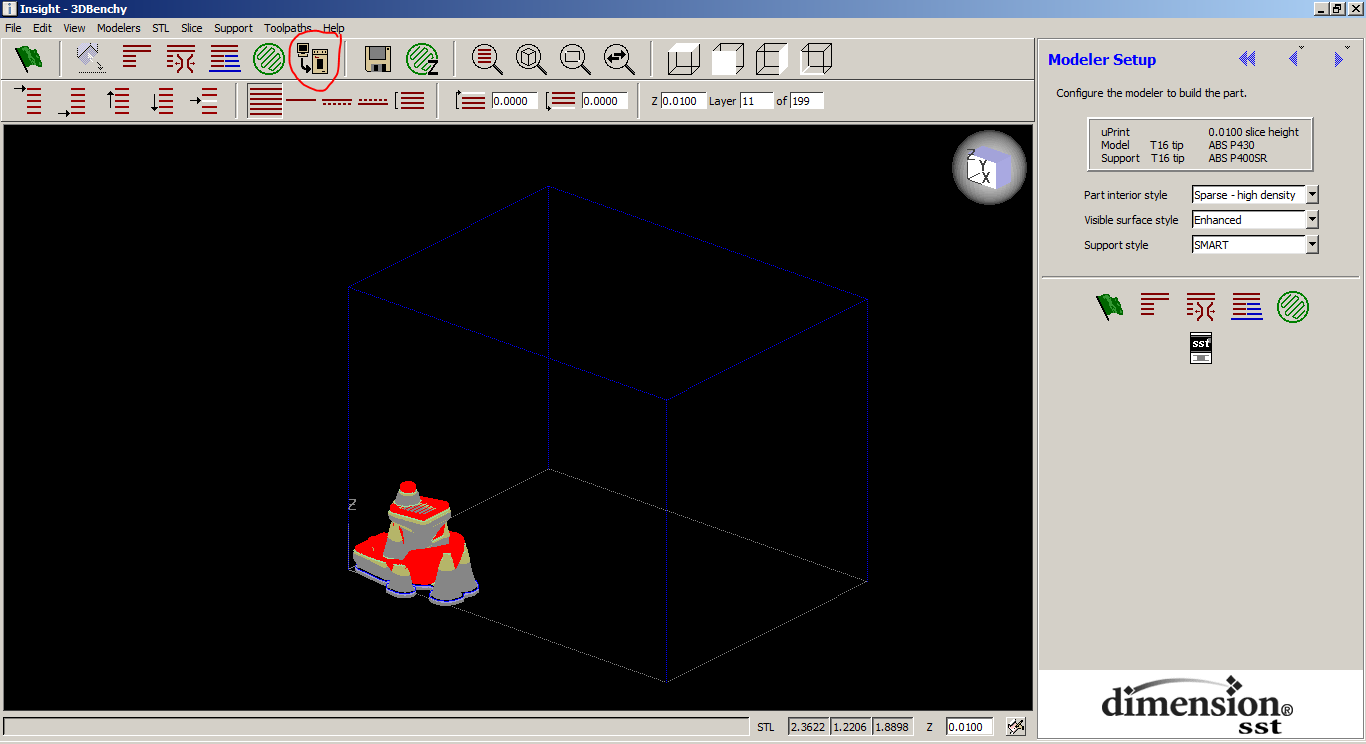
- Send to ControlCenter (computer-printer button). This will open another program.
- Slice any other parts (repeat steps 7-10) and send them to ControlCenter
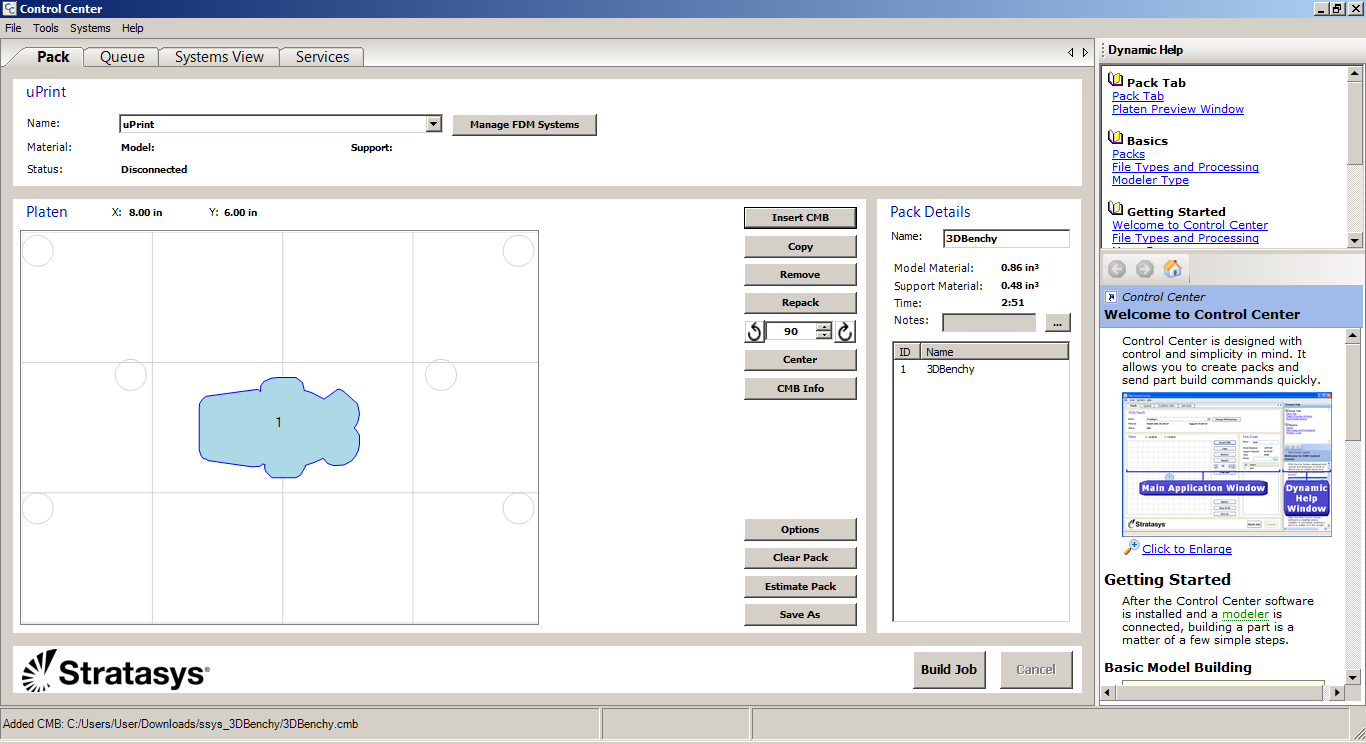
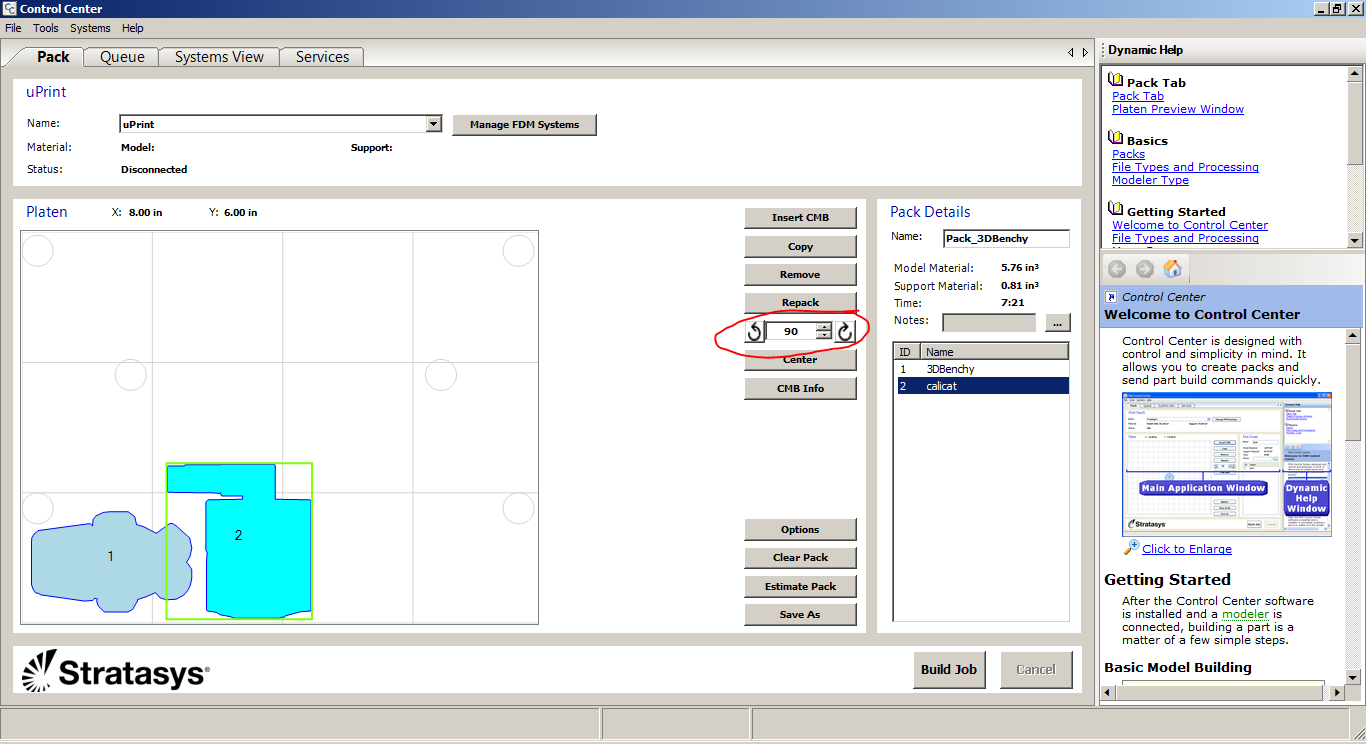
- Arrange parts using "pack" tab. Parts can be dragged and rotated.
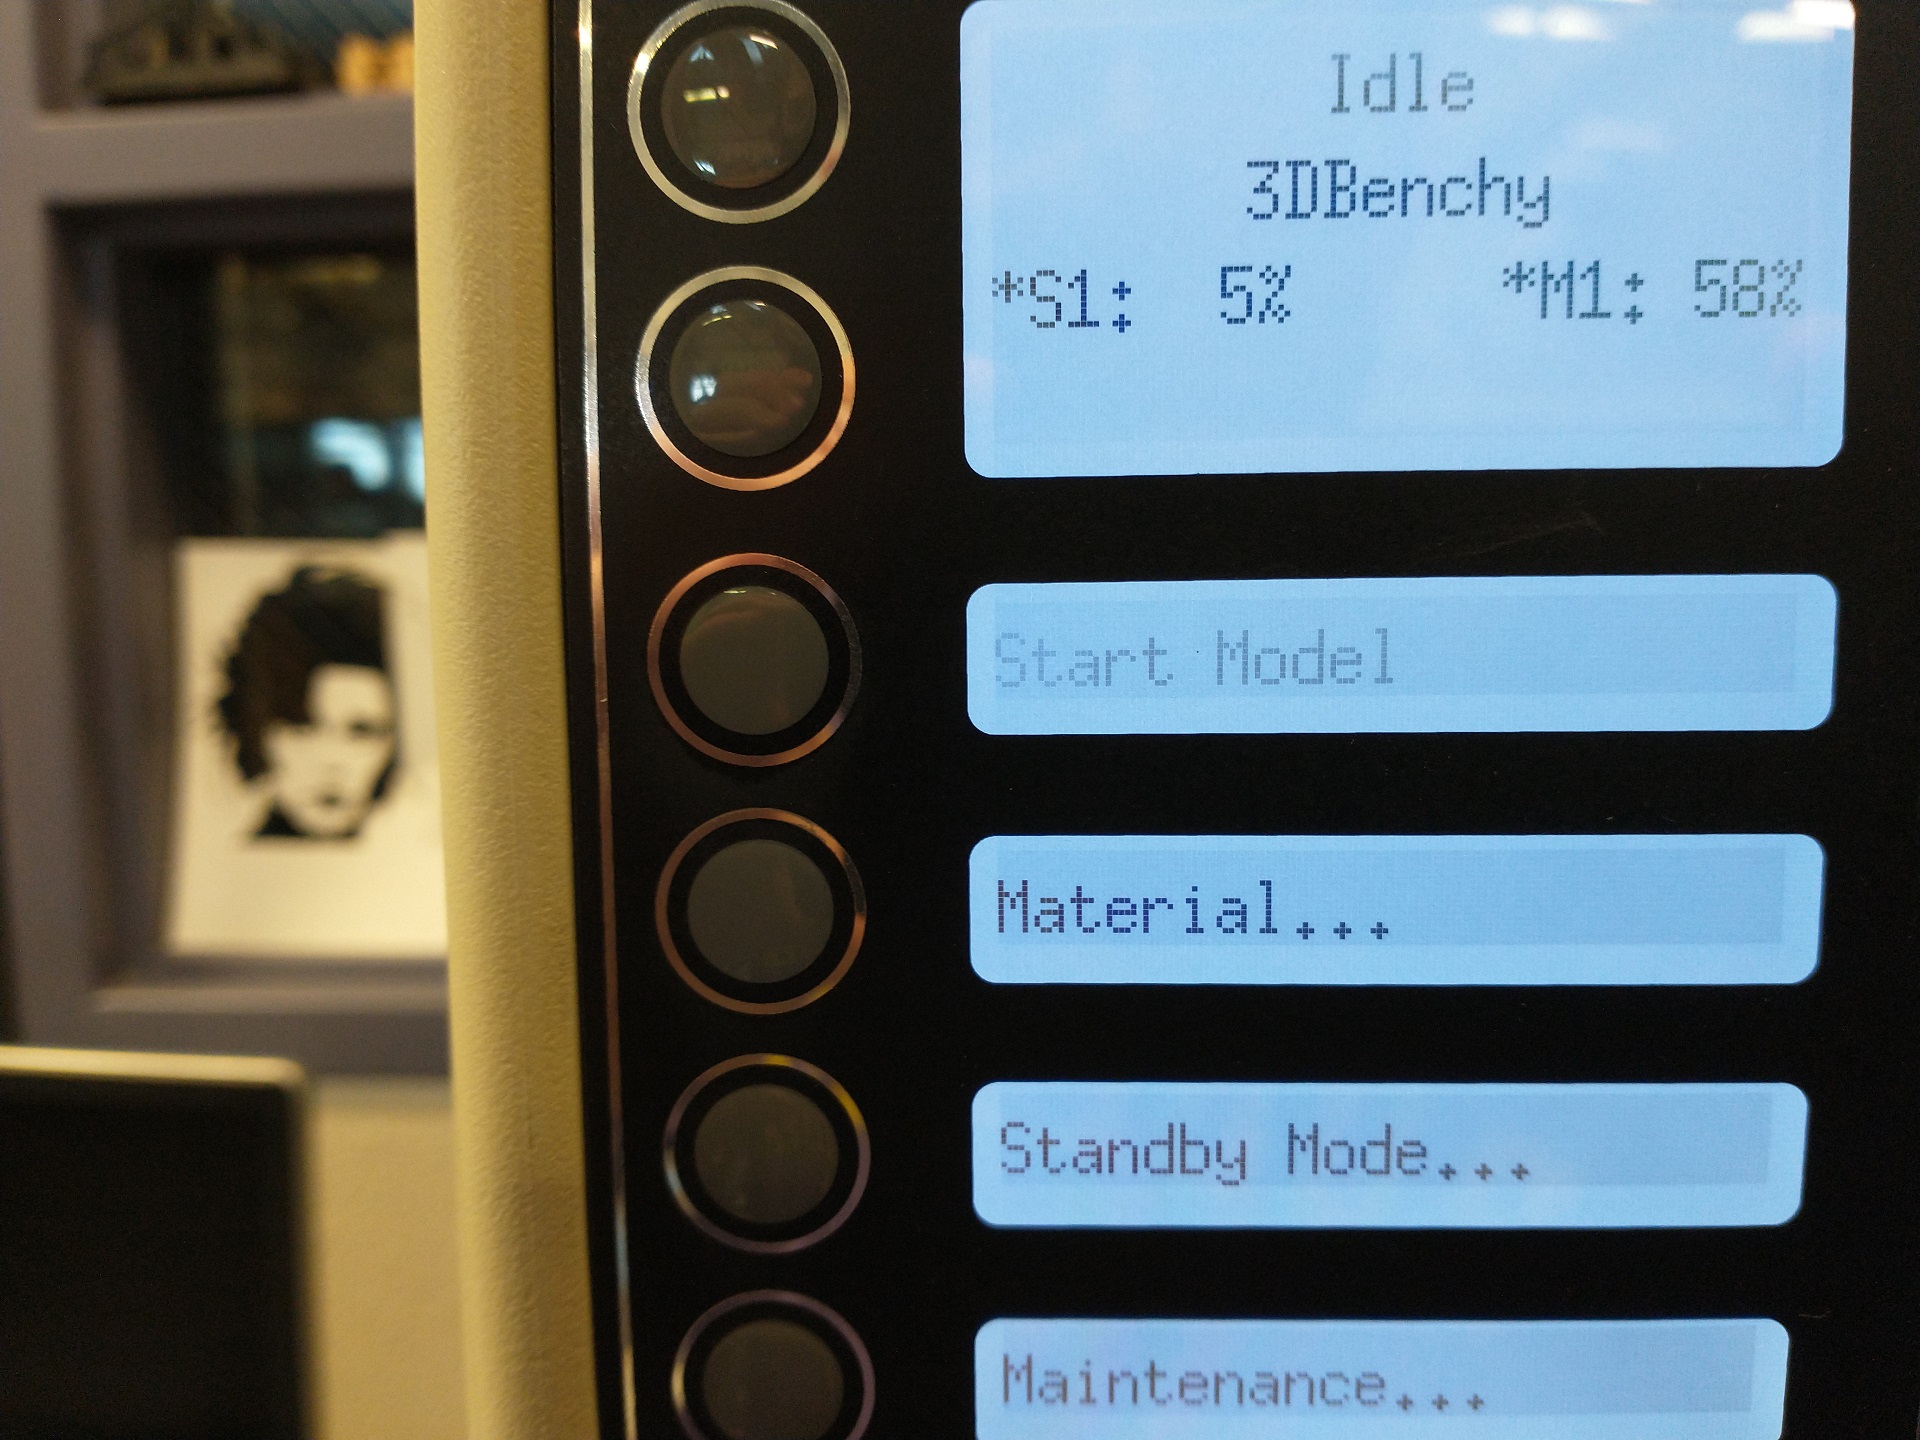
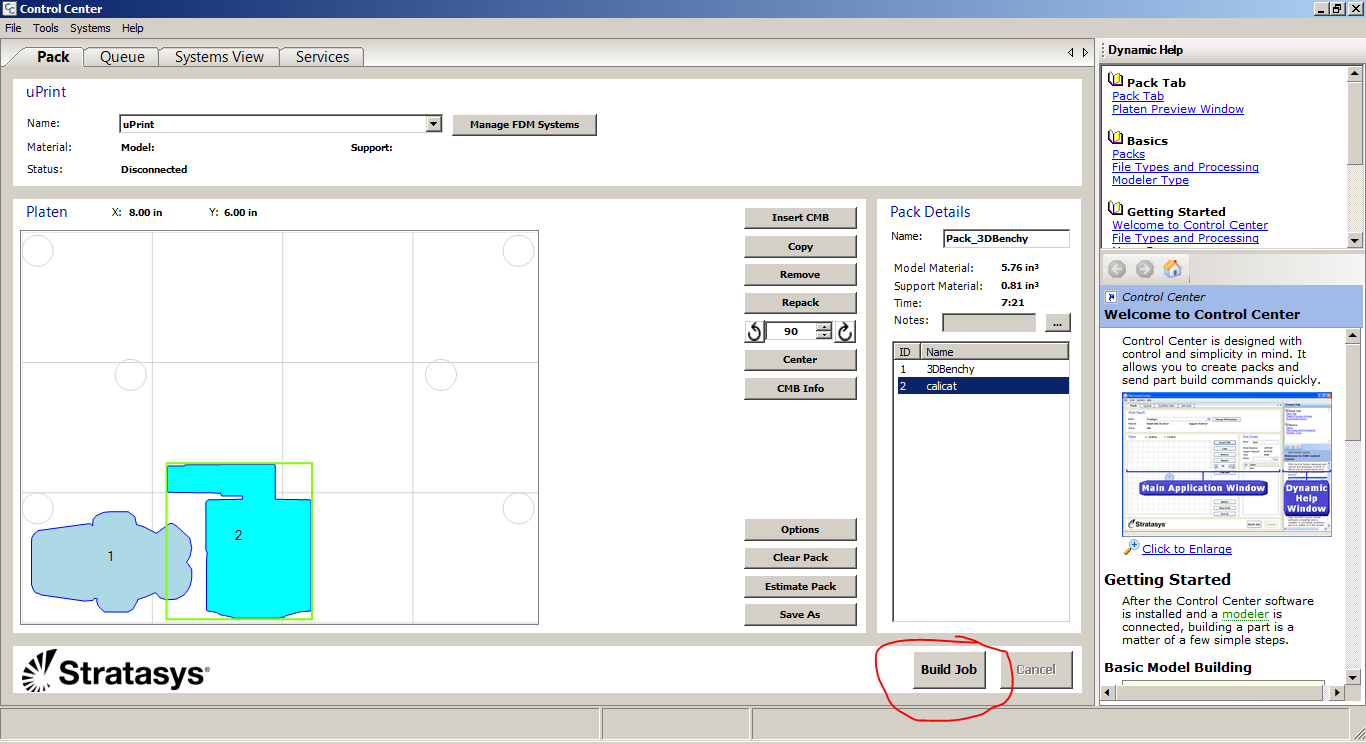
- Ensure printer is connected via ethernet. Click "Build Job" at the bottom of the screen. Print job name should show up on display on printer. DO NOT PRESS IT YET!
- If a build platform already has transfer tape applied to it, simply apply gluestick to its top surface and insert it into the printer. BE SURE TO FLIP CLIPS UP! If not, follow [build platform preparation instructions (this will be a link)]
- Print job name should show up on printer display. Press "Start Model" on printer